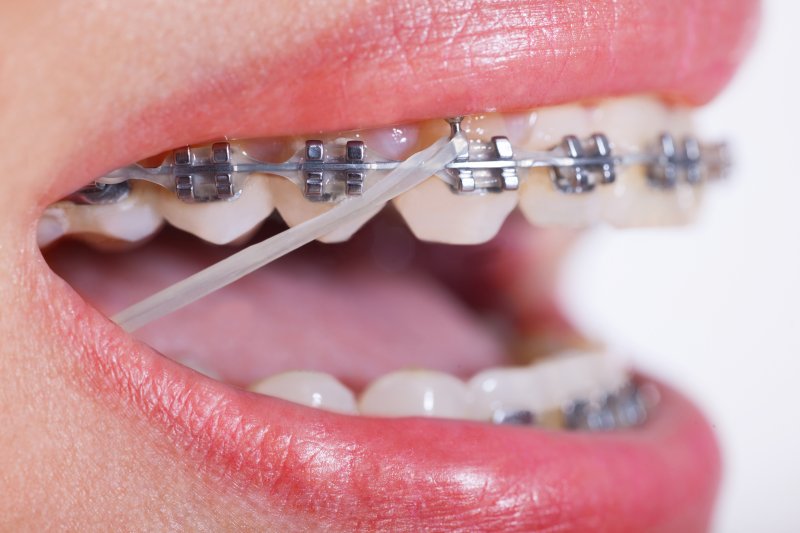
You’ve already received your traditional braces and are moving along through treatment just fine. When arriving at an appointment with your orthodontist, you learn it will be necessary for you to wear rubber bands on your braces to keep your teeth moving in the right direction. Why? What is the reason for these additional elastics? An orthodontist is here to explain their purpose and how they work as well as offer tips on how to wear them for effective results.
Why Are Rubber Bands Necessary?
Not all patients with traditional braces are required to wear rubber bands; however, it may be necessary for your orthodontist to incorporate them into your treatment plan if your teeth or misaligned jaw need a bit more help to move. Connecting to the tiny metal hooks on your brackets, these elastics can help to increase the amount of force used to adjust your crooked teeth, overbite, underbite, open bite, or crossbite. If you have gapped teeth, they can also be used to help eliminate unnecessary space.
Rubber bands come in a variety of colors, so if you want to jazz up your braces in Canfield and throw a bit of color into the mix, you can certainly do so.
How Do They Work?
If your orthodontist recommends rubber bands as part of your treatment, you may be required to wear them all day. The only time you should expect to remove your elastics is when you are eating or performing your normal oral hygiene routine. You’ll also be expected to change them out regularly because they tend to lose their elasticity, reducing the effectiveness of their ability to apply appropriate force.
In most cases, patients are required to wear a rubber band on both sides of the mouth, but this will be dependent upon their individual needs. Attached to a bracket on the upper arch, the band will stretch and attach to a bracket on the lower arch of teeth.
Tips for Wearing Rubber Bands
It is not uncommon to experience some minor discomfort while wearing rubber bands. Because of the additional applied pressure, you may need some time to adjust. You are free to take an over-the-counter pain reliever to help with any soreness.
When preparing to wear your rubber bands, it can be difficult to put them on in the beginning. Here are a few helpful tips:
- Use your thumb and pointer finger to hook your rubber bands. You may need to stand in front of a mirror so you can see what you’re doing the first few times.
- Keep the bag that contains your rubber bands in a secured place. Because they are small and can be easily lost, it is important that you identify a location that will ensure your elastics are easy to access.
- Don’t forget to remove your rubber bands before eating. You’ll also want to make sure they are not in your mouth when you begin to brush and floss your teeth.
- Make sure to replace your rubber bands on a daily basis. The more elasticity they lose, the less effective they are, which can cause a delay in treatment.
Should you learn you need rubber bands as part of your orthodontic treatment, don’t be dismayed. Instead, embrace the opportunity, as you will be well on your way to achieving a straighter, more beautiful smile.
About the Author
Dr. Marissa Mikolich has more than a decade of experience helping her patients achieve beautiful smiles. She obtained a doctoral degree in dentistry from The University of Pennsylvania School of Dental Medicine before going on to receive a master’s degree in oral biology from The Ohio State University College of Dentistry. As a children’s orthodontist in Canfield, she and her team at Mikolich Orthodontics offer treatment to patients of all ages and are here to ensure you achieve long-lasting, life-changing results. Should you require rubber bands as part of your orthodontic treatment, she can go over the necessary steps and provide helpful tips to make the process easier and more enjoyable. If you are looking for a trusted and qualified orthodontist, visit our website or call (330) 967-4110.

